What You Need Before You Start
- Your property address and parcel number (from your tax bill or county assessor website)
- Planned wall height measured from footing bottom to top of wall
- Knowledge of what sits above the retained soil (driveway, slope, flat yard, structure)
- A site plan showing the wall location and distance to property lines
- Engineer-stamped plans if required for your height and conditions
Step 1: Confirm Whether a Permit Is Required
Before anything else, verify that a permit is actually required for your specific wall. Use the free Permit Threshold Checker, then call your local building department to confirm. Have ready: your wall's retained height (footing bottom to top), whether there is a surcharge above the soil, and whether it is part of a tiered system.
When you call, also ask these follow-up questions:
- Do I need engineer-stamped plans for my wall height and conditions?
- Do you accept online permit applications or is it in-person only?
- What is the current review time for residential retaining wall permits?
- Is there an over-the-counter (same-day) review option for simpler walls?
- What is the permit fee for a wall of my planned size?
Step 2: Prepare Your Site Plan
Every permit application requires a site plan — a scaled drawing showing your property and the proposed work. Your site plan must show:
- Your lot boundary (to scale)
- Location of your house and any other structures
- The proposed wall location with dimensions (length)
- Distance from the wall to all property lines
- Wall height at its tallest point
- Drainage direction — where water behind the wall will go
- Any nearby features: driveway, fence, trees, utility lines
Recommended: Self-Leveling Laser Level with Tripod
Getting your retaining wall footing perfectly level is one of the most important steps in the permit and construction process — and one of the easiest to get wrong by eye. This self-leveling model projects a green cross-line up to 100 ft and comes with a tripod, letting you set a fixed horizontal reference at footing height and check it from multiple points along the wall without re-leveling each time. Useful for both DIY wall projects and for verifying contractor work before concrete is poured.
Step 3: Prepare Wall Design Drawings
In addition to the site plan, most jurisdictions require wall design drawings showing how the wall is constructed. Required elements typically include:
- Wall cross-section: Height, footing dimensions, drainage layer, reinforcement, and backfill
- Footing detail: Width, depth, and any reinforcing steel
- Drainage design: Perforated drain pipe, gravel drainage layer, and discharge point
- Material specification: Block dimensions, timber grade, concrete mix, rebar size and spacing
Step 4: Hire an Engineer If Required
If your wall requires engineer-stamped plans, hire a licensed structural engineer (PE) before submitting. Engineering fees typically run $600–$1,800 depending on complexity and your location. See our full guide: Do I Need an Engineer for a Retaining Wall?
Step 5: Submit Your Application
Submit to your local building department with your site plan, design drawings, engineer stamp (if required), completed application form, and permit fee payment. Most jurisdictions now accept online submissions. Permit fees range from $75 in small counties to $600+ in major California cities.
Step 6: Plan Review
| Jurisdiction Type | Typical Review Time |
|---|---|
| Small county or rural city | 1–2 weeks |
| Medium suburban city | 2–4 weeks |
| Large metro (Denver, Portland, Atlanta) | 3–6 weeks |
| High-volume cities (LA, Seattle, NYC) | 4–10 weeks |
If the reviewer finds issues, they'll issue a correction notice. Address each comment specifically and resubmit. Re-review typically takes 1–2 weeks.
Step 7: Permit Issued — Construction Begins
Post the permit card on site before work starts. Build exactly to approved plans — any changes require prior written approval from the building department.
Step 8: Inspections
The footing inspection must happen before concrete is poured. Once buried, the inspector cannot verify dimensions without destructive investigation. Schedule 24–48 hours in advance.
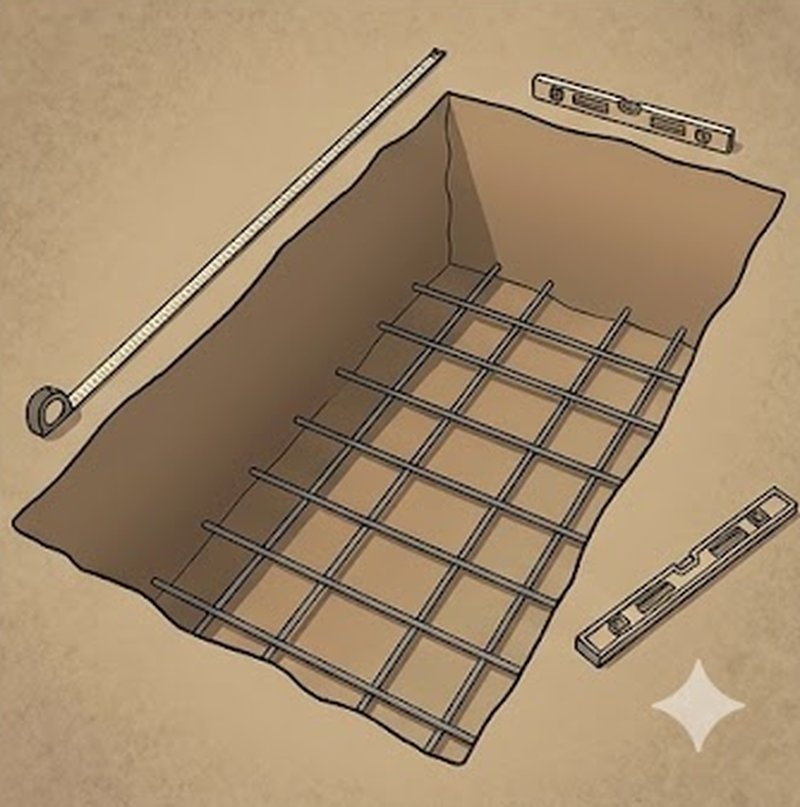
- Footing inspection — before pouring. Inspector verifies depth, width, and rebar placement.
- Final inspection — after wall is complete and drainage is installed. Inspector verifies the completed wall matches approved plans.
Step 9: Final Sign-Off
Keep your signed permit card and stamped plans permanently with your property records. They will be requested when you sell the property.
📋Frequently Asked Questions
Yes. A licensed contractor can apply for and manage the permit on your behalf. However, the property owner is ultimately responsible for ensuring a permit exists and inspections are completed. Always ask your contractor for a copy of the issued permit before work begins.
Over-the-counter (OTC) review means the building department reviews your plans while you wait — typically 30 minutes to a few hours — rather than the standard multi-week queue. Not all jurisdictions offer this, and it's usually only available for simpler projects. Ask specifically whether your wall qualifies when you call.
A returned application (correction notice) is not a permanent denial — it's a request to revise and resubmit. Read each comment carefully. Most common issues: missing drainage design, footing dimensions not shown, engineering stamp missing when required, or site plan lacking property line distances. Address every noted item and resubmit. If a correction is unclear, call the plan reviewer directly — they are generally helpful.
Most jurisdictions issue permits valid for 18–24 months, with expiration if no inspections are requested within 6–12 months. If your project runs long, renew the permit before it expires — lapsed permits create the same retroactive permitting problem as never having had one.